Thinking About a Concrete Patio?
So, you're picturing a new concrete patio out back. Maybe that old deck has seen better days, or you just want a sturdy, low-fuss spot for grilling and hanging out. That's a really smart move; a concrete patio definitely adds value and enjoyment to your place. But before you even think about grabbing a shovel, let's chat about what's involved, what you can realistically tackle yourself, and when you absolutely need to call in the pros.
Before You Start: Planning & Permits
First things first, you need a solid plan. How big are we talking? What shape? Where exactly will it sit? Really think about how it'll flow with your house and yard. Will it connect to a walkway? Do you want steps? These aren't just about looks, you know; they affect drainage and how much concrete you'll actually need.
Next up: permits. This is a biggie. Here in Virginia Beach, you'll probably need a permit for any new concrete patio, especially if it's over a certain size or changes how water drains on your property. Don't even *think* about skipping this step. The city's planning department can tell you exactly what paperwork you need. Trust me, getting a permit upfront is way less hassle than dealing with fines or having to rip out your work later. A good contractor, like us at Williams Stamped Concrete & Resurfacing, will handle the permitting process for you, but if you're going DIY, it's all on your shoulders.
Also, consider your soil. We've got a lot of sandy soil in Virginia Beach, particularly closer to the oceanfront. That's generally good for drainage, but you still need proper compaction and a good base layer to stop settling and cracking down the road. If you're building on an old garden spot or an area with a lot of fill dirt, you'll need to be extra careful preparing that subgrade.
During the Project: DIY vs. Professional
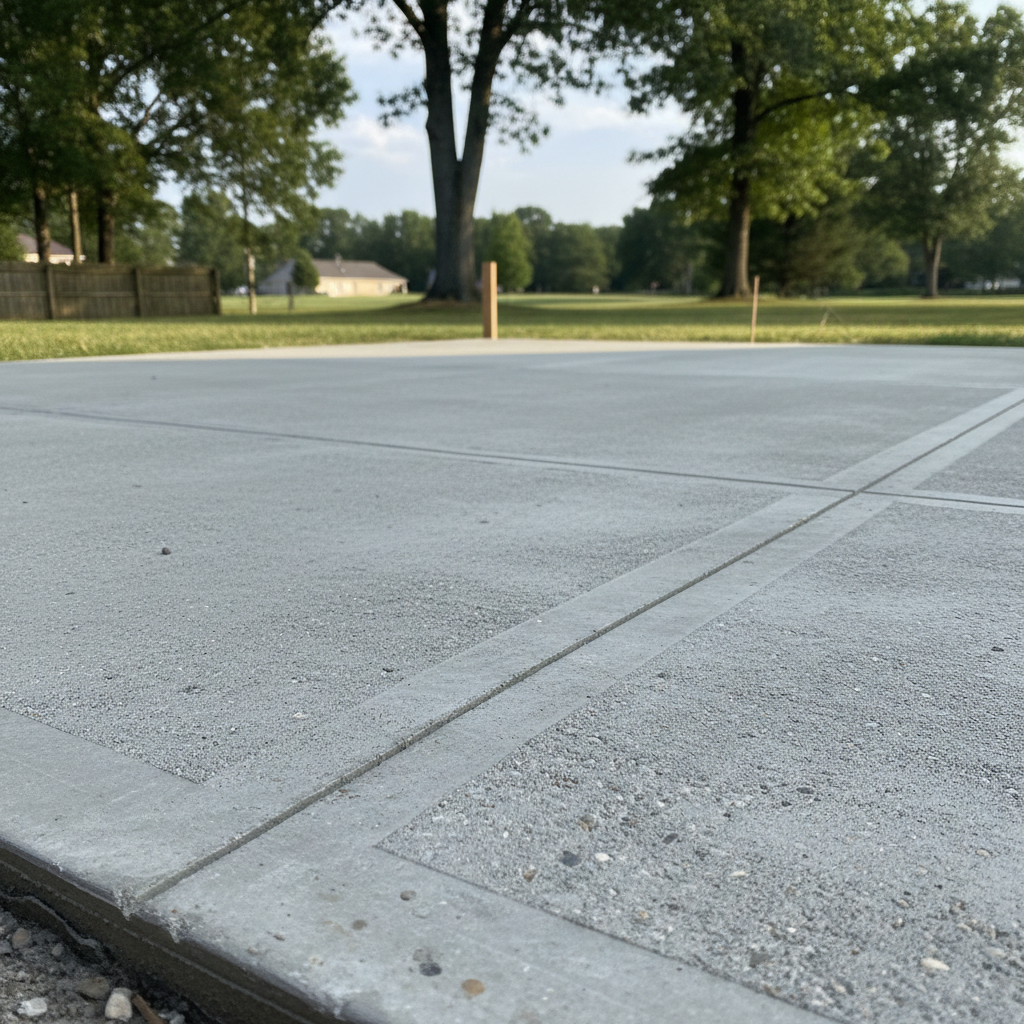
Alright, let's break down the actual work.
- Site Preparation: This means clearing the area, digging down to the right depth, and setting up proper drainage slopes. You absolutely need a slight slope away from your house (at least 1/4 inch per foot) to keep water from pooling against your foundation. You can definitely do the digging and clearing yourself if you're up for some serious manual labor or renting an excavator.
- Subgrade & Base: After you dig, you'll need to compact the subgrade (that's the dirt underneath) and then lay down a gravel base — typically 4-6 inches of crushed stone. This base needs compacting too. A plate compactor is a must-rent tool here. This part is still DIY-friendly, but it's physically demanding and super critical for a stable patio.
- Formwork: Building the forms (those wooden or metal boundaries that hold the wet concrete in place) is something a handy homeowner can manage. It takes precise measurements, level lines, and sturdy bracing. Any wobble or sag in your forms will definitely show up in your finished patio.
- Reinforcement: Rebar or wire mesh goes into the forms to give the concrete extra strength and help control cracking. This is fairly straightforward to lay out, but you need to make sure it's properly supported so it ends up in the middle of the slab, not just sitting on the ground.
- Pouring & Finishing: Now, this is where I'd tell most homeowners to seriously think about calling a professional. Concrete is heavy, it sets fast, and it's pretty unforgiving. Getting it delivered, screeding it level, floating it smooth, and then troweling it to the right finish is truly an art form. If you're just doing a simple broom finish, maybe you could try it with a few strong friends and rented tools. But if you want a smooth, decorative, or stamped finish, you're going to want someone who does this every single day. An uneven pour or a bad finish isn't something you can easily fix later, is it? This is where Williams Stamped Concrete & Resurfacing really shines – we've got the crew and the experience to get it done right, beautifully.
After the Pour: Curing & Care
Once the concrete is poured and finished, the work isn't quite over. Proper curing is absolutely crucial for strength and durability. This means keeping the concrete moist for at least 7 days, sometimes even longer. You can do this by misting it regularly, covering it with plastic sheeting, or using a special curing compound. Don't let it dry out too fast, especially during our hot Virginia Beach summers. Rapid drying leads to weaker concrete and more cracking.
After curing, you'll want to seal your patio. A good quality concrete sealer will protect it from stains, water penetration, and UV damage. This is definitely a DIY job you can handle. Just make sure the concrete is clean and dry before you apply it, and follow the manufacturer's instructions to the letter.
In terms of maintenance, concrete patios are pretty low-key. A good sweep now and then, and a wash with a hose and maybe some mild detergent for tougher spots. Reapply that sealer every few years, and your patio will look great and last for decades.
So, can you DIY a concrete patio? Yes, some parts of it. But for the actual pour and finish, especially if you want it to look professional and last without issues, bringing in an experienced team is usually the smart move. It saves you a lot of headache, backache, and potential regret.